Well, it's time for my monthly update on Project Green Gables. With Halloween show season fast approaching, my progress on this labor of love has been intermittent. However, I have good news! After hours of intensive application, all the dimensional elements and overlaying texture have been applied, and the gable is ready for paint! Yay! Today, we brought home a quart of vintage green paint and JP has already coated the entire base in this lovely hue. As time allows, I will be dry-brushing on the cream accents to allow my design to pop. Stay tuned for more updates here and scroll down to my previous blog posts to see all the various phases of the project.....
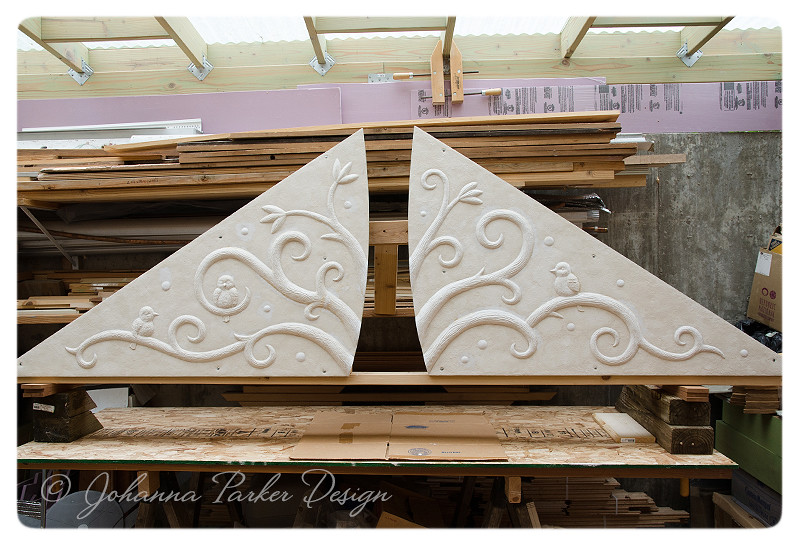
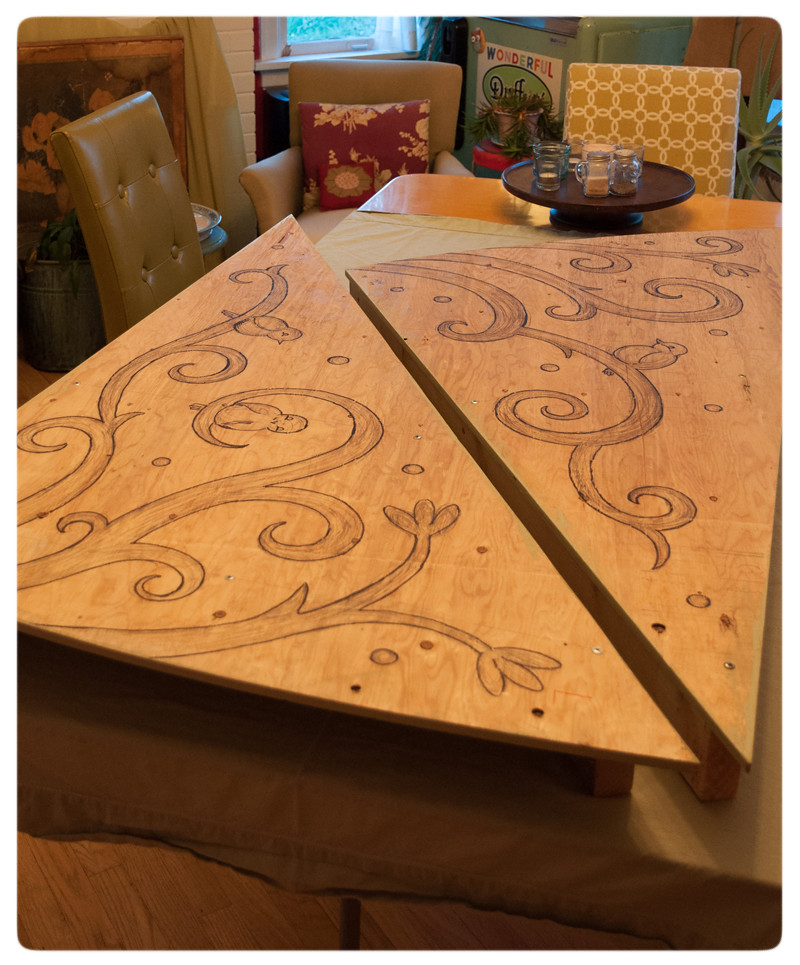
* And there she is in her sprawling beauty! :) Click each image for a larger view...
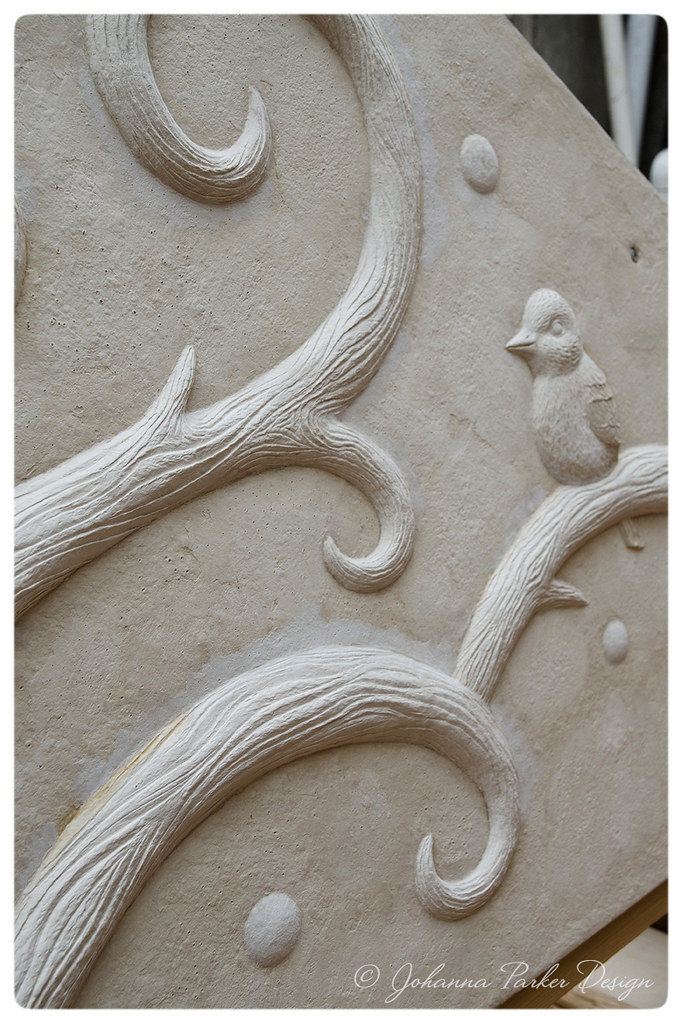
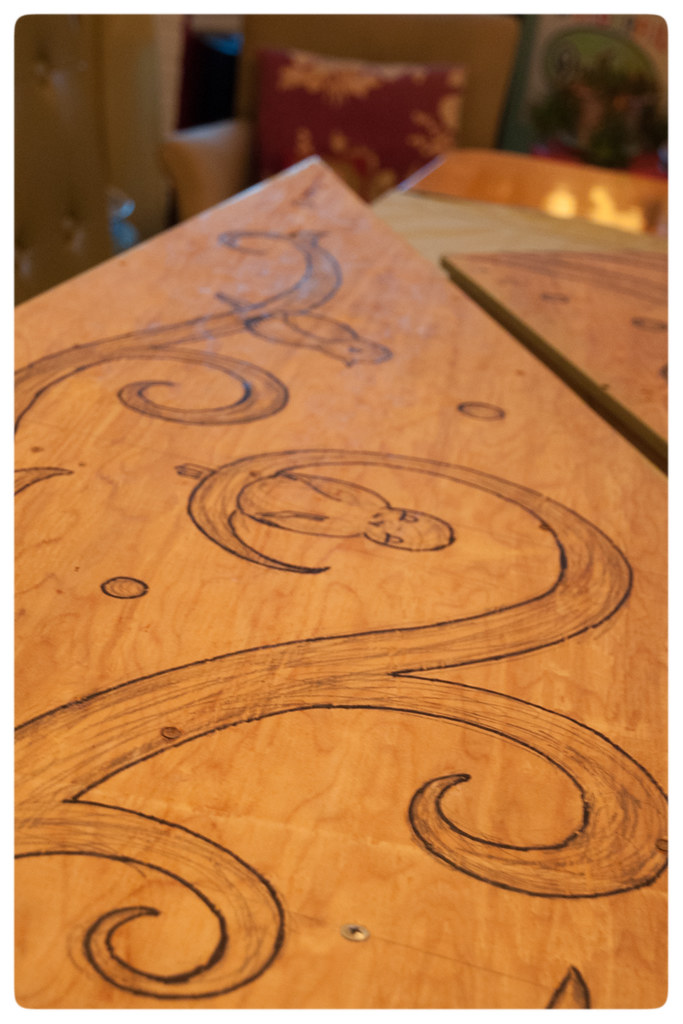
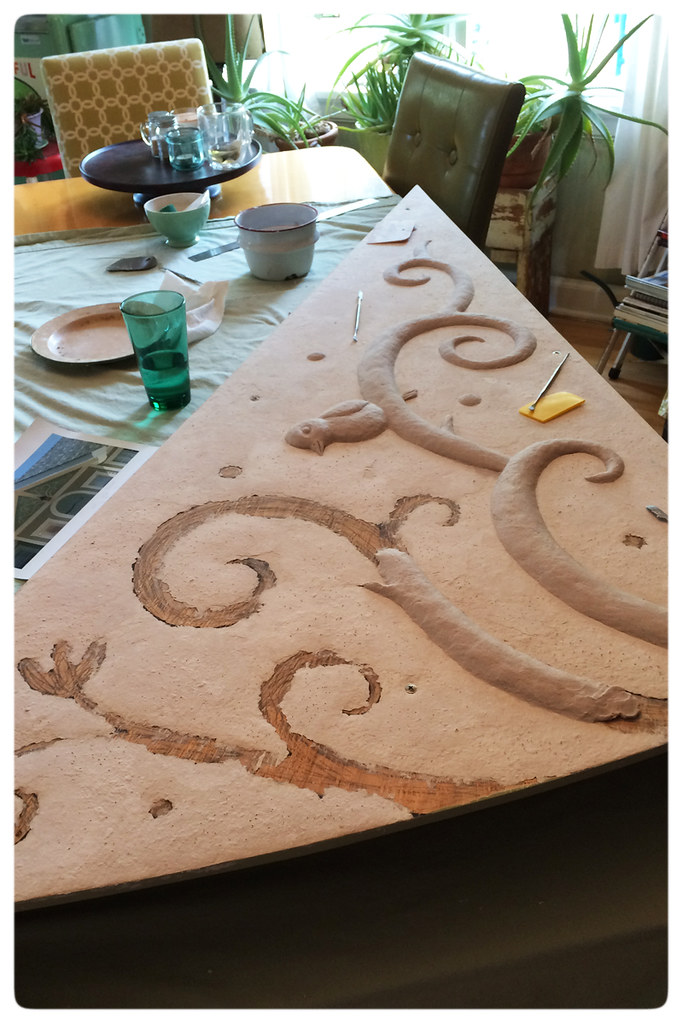
* A closer glimpse reveals all the woody texture that I applied to the various scrolling vines...
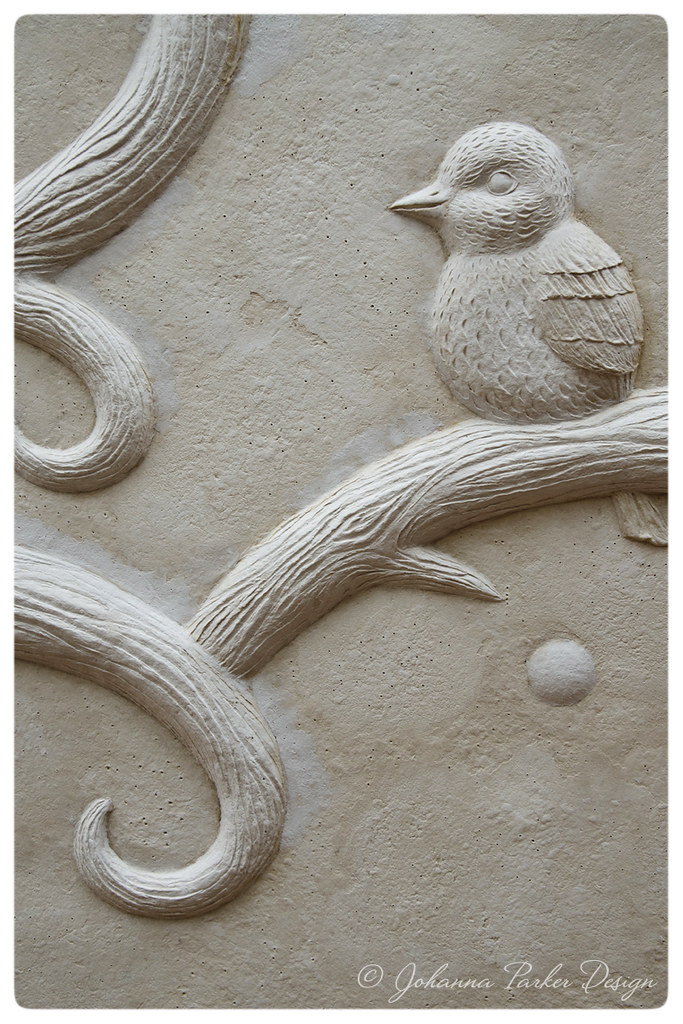
* And here's a zoom on the right bird's profile, feathers and all...
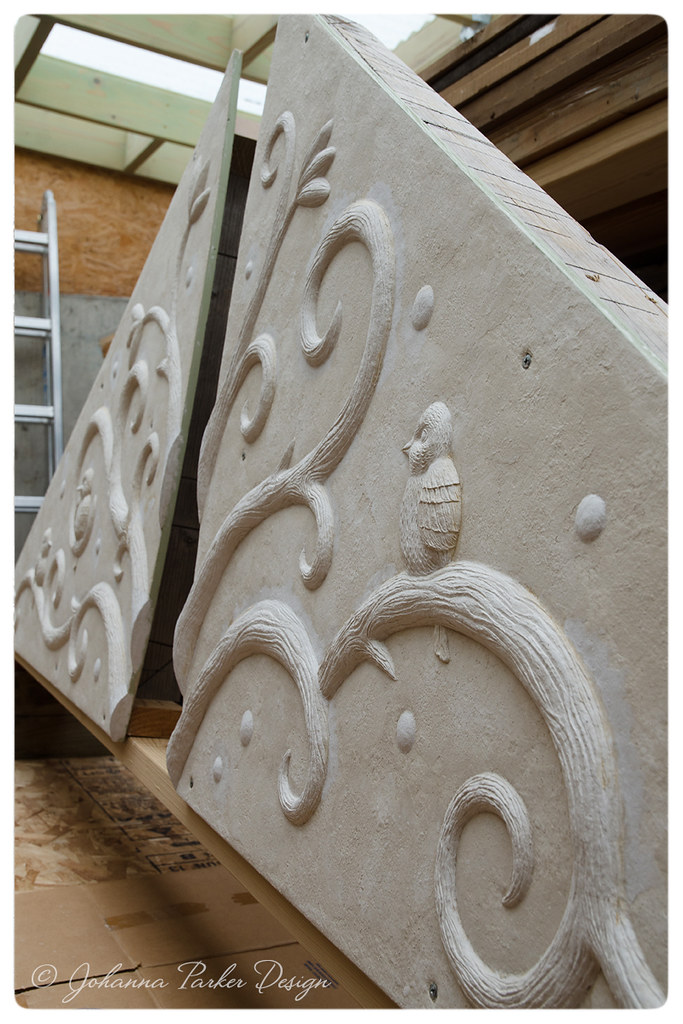
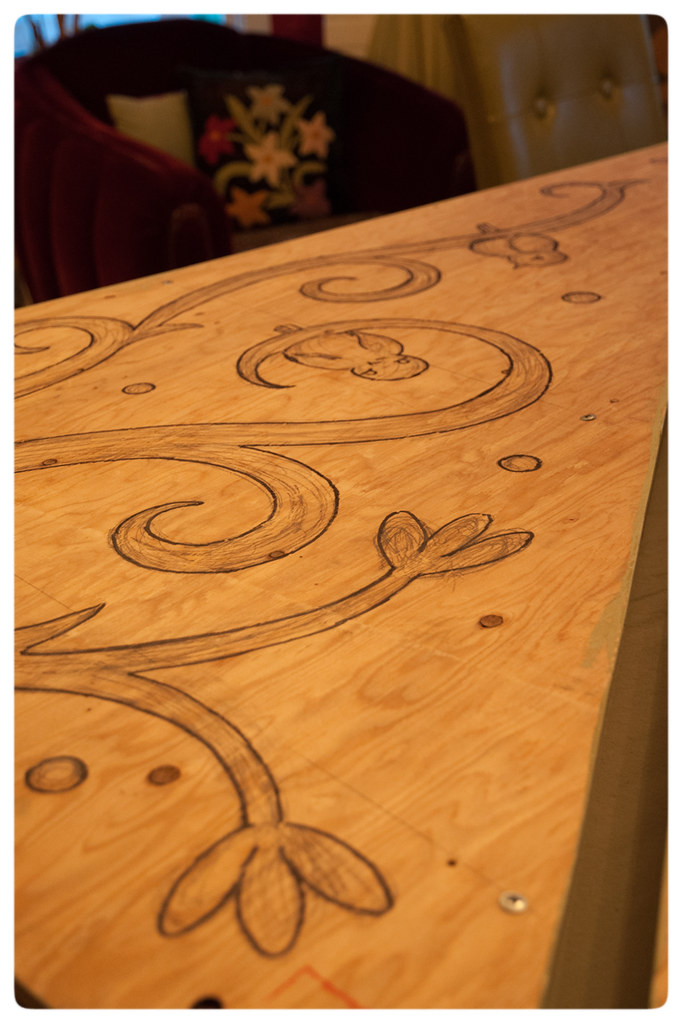
* Another perspective helps to express the dimensional qualities of the sculpture...
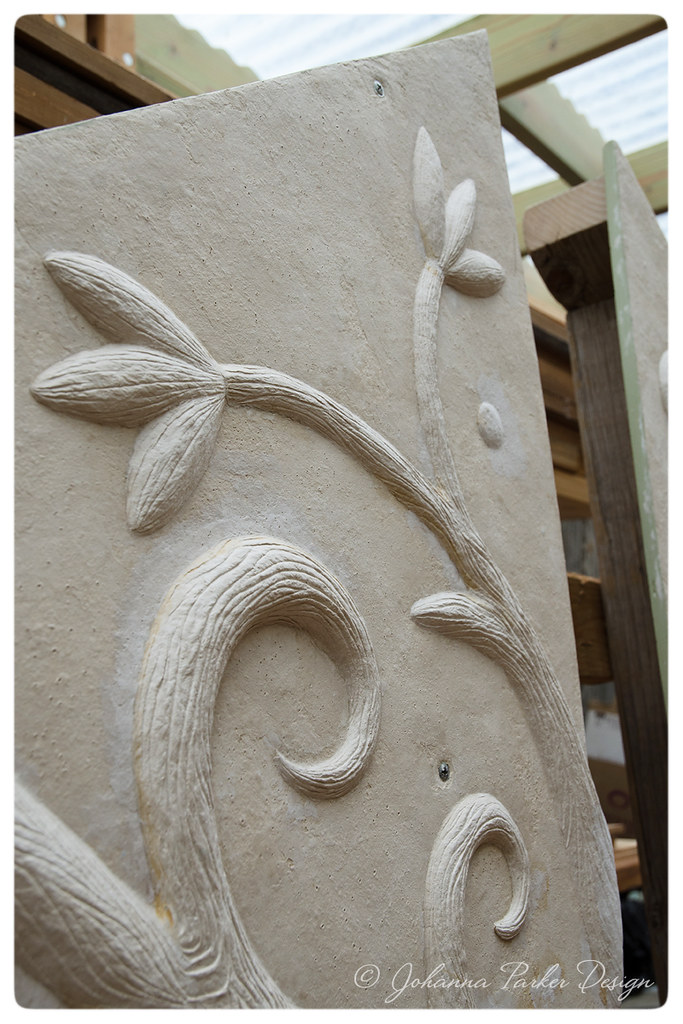
* And of course, we have a few blossoms to round out the design...
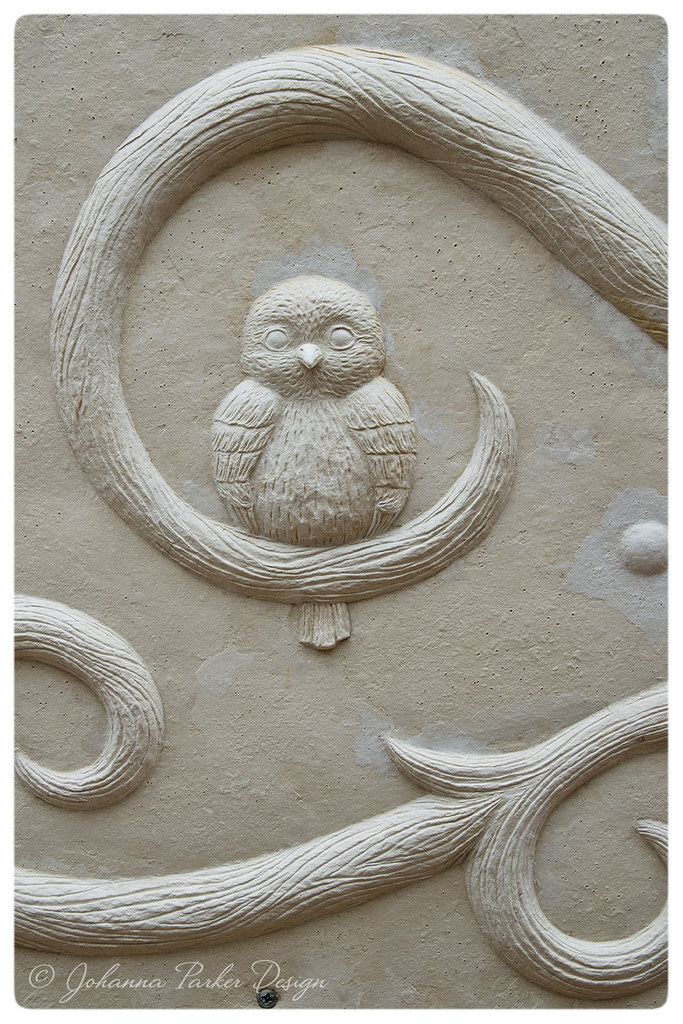
* As well as a perched cutie facing forward...
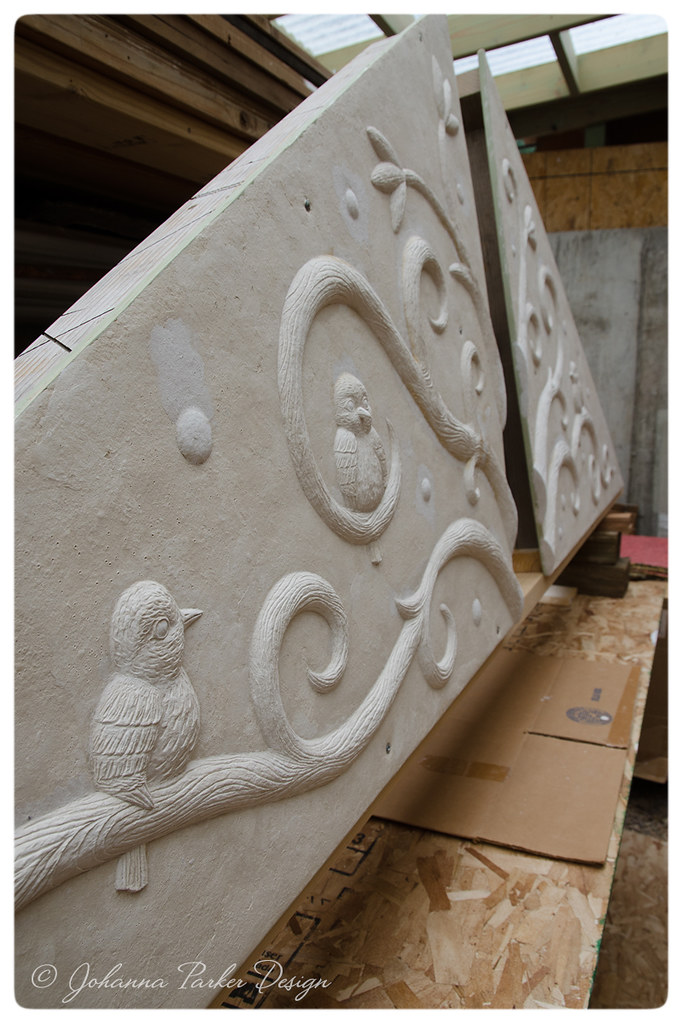
* And a third bird completes the composition!
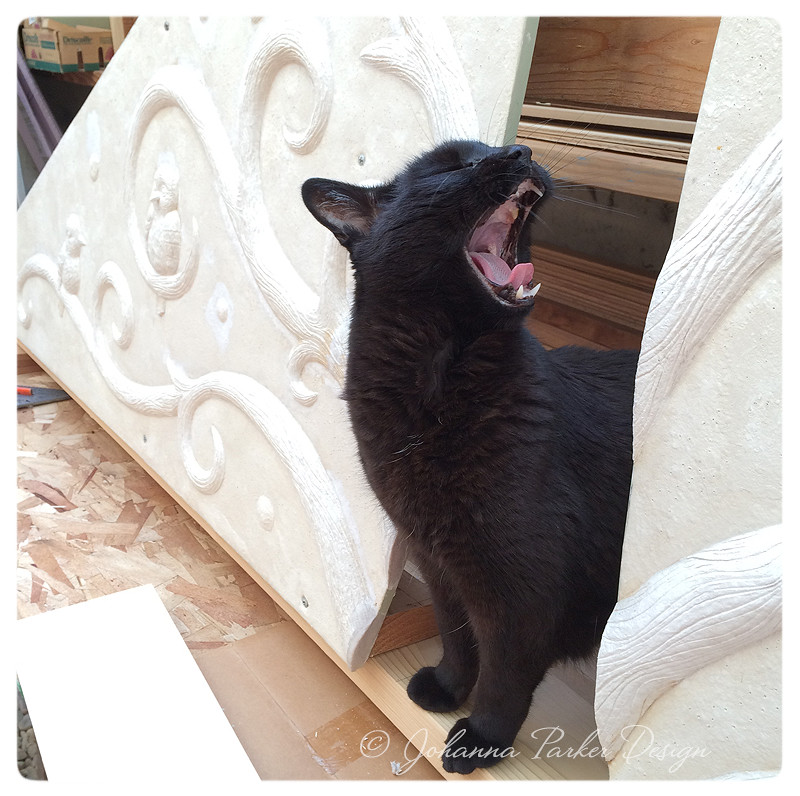
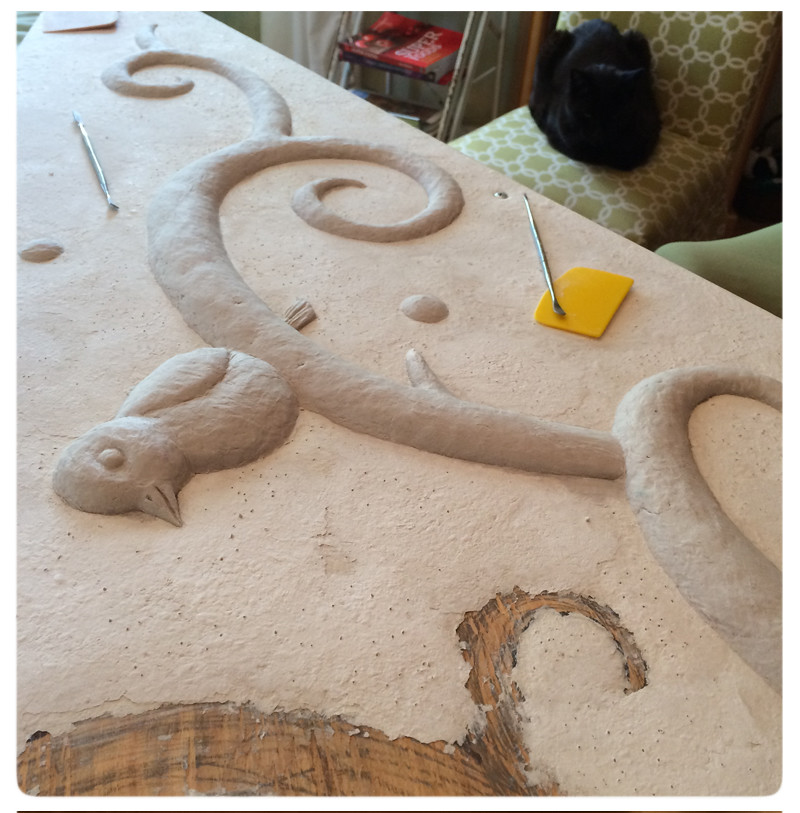
* Jack didn't offer too much physical help it seems, but he was often by my side, keeping me company. However, that big yawn probably means that he's about over this project and ready for me to get back to my Halloween black cat making! :) And that's probably a good idea given the date! I hope to See YOU at the Glens Art Walk! I better get busy!....
You can also Follow along with me on INSTAGRAM, FACEBOOK & PINTEREST
Best Wishes,
~ Johanna
* And there she is in her sprawling beauty! :) Click each image for a larger view...
* A closer glimpse reveals all the woody texture that I applied to the various scrolling vines...
* And here's a zoom on the right bird's profile, feathers and all...
* Another perspective helps to express the dimensional qualities of the sculpture...
* And of course, we have a few blossoms to round out the design...
* As well as a perched cutie facing forward...
* And a third bird completes the composition!
* Jack didn't offer too much physical help it seems, but he was often by my side, keeping me company. However, that big yawn probably means that he's about over this project and ready for me to get back to my Halloween black cat making! :) And that's probably a good idea given the date! I hope to See YOU at the Glens Art Walk! I better get busy!....
You can also Follow along with me on INSTAGRAM, FACEBOOK & PINTEREST